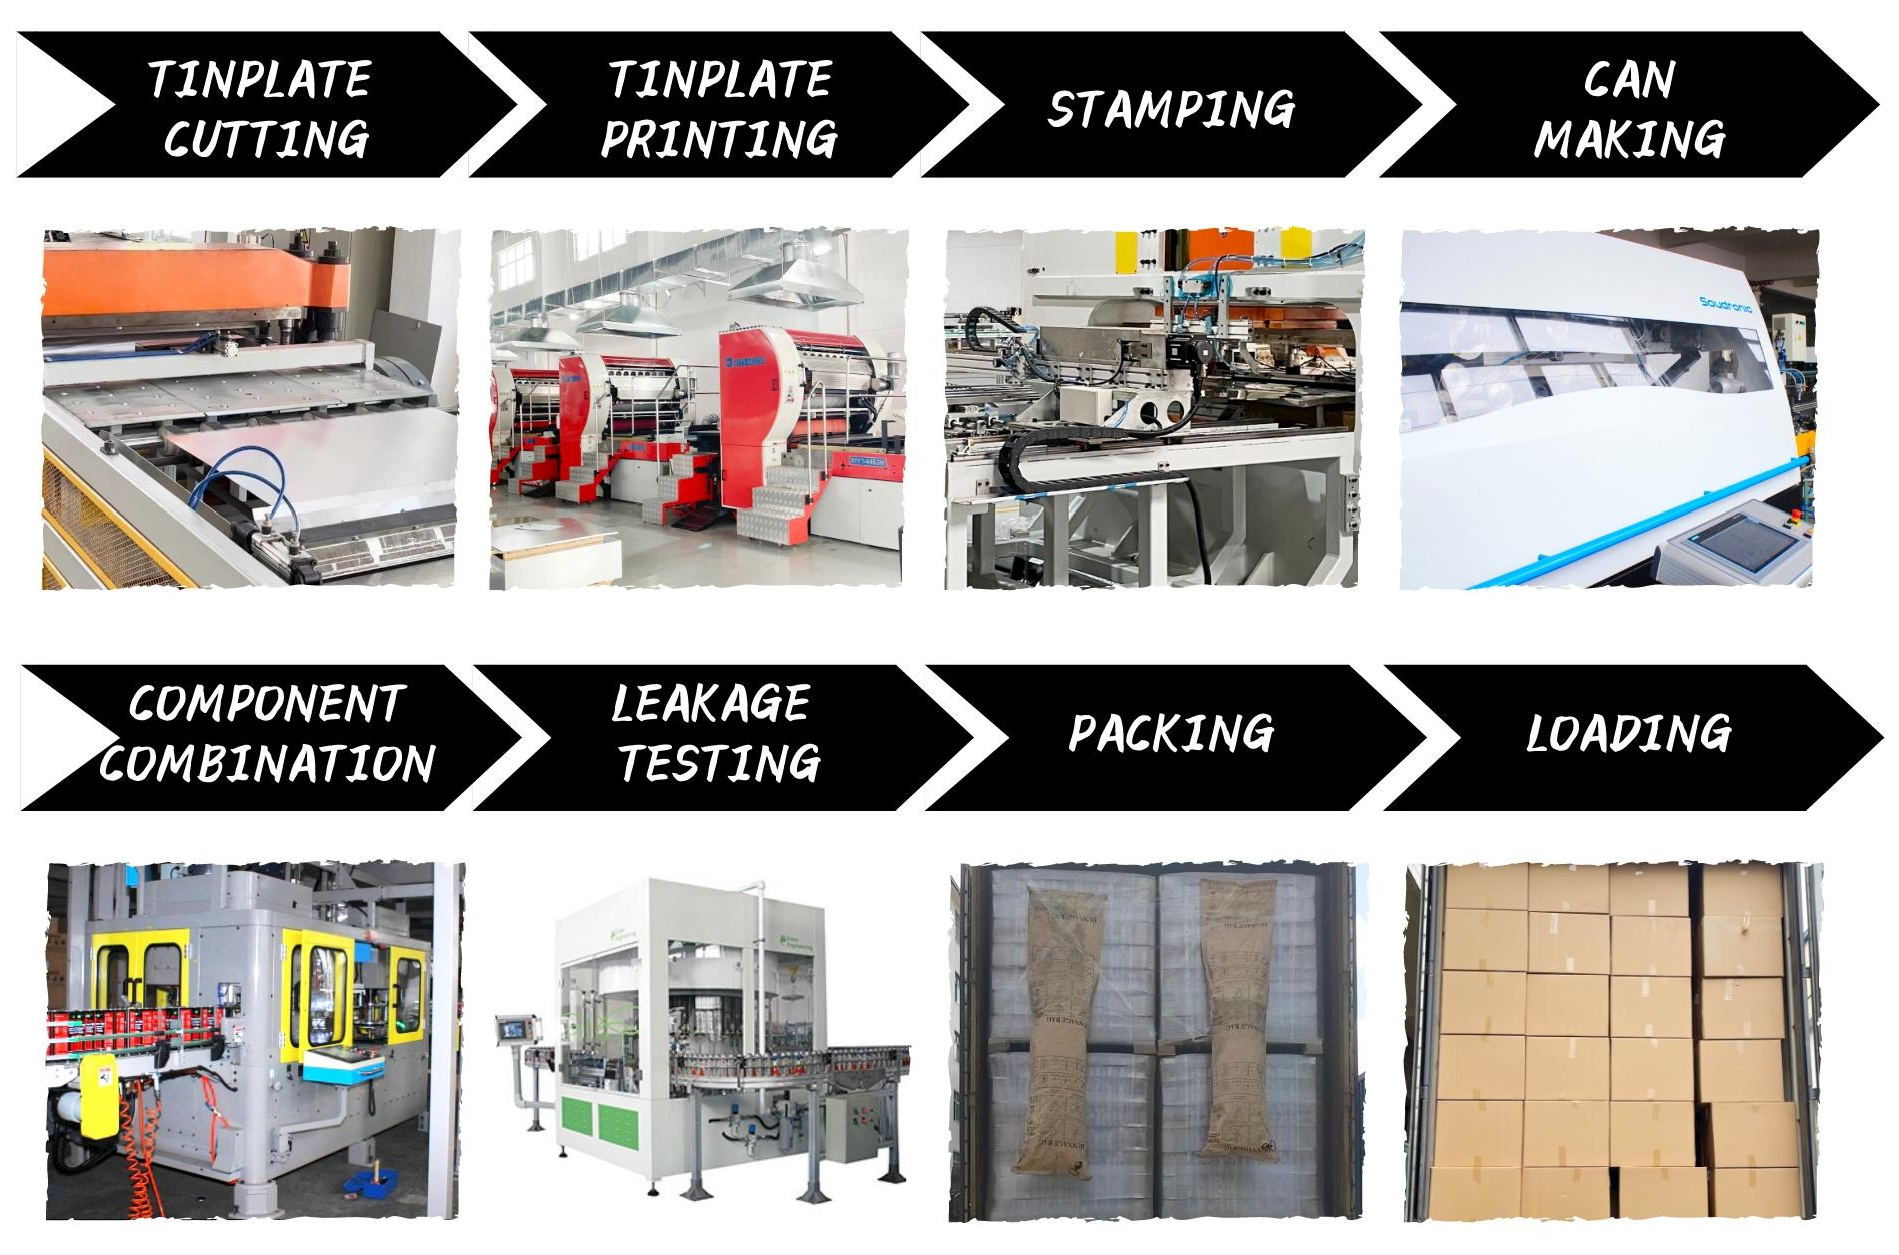
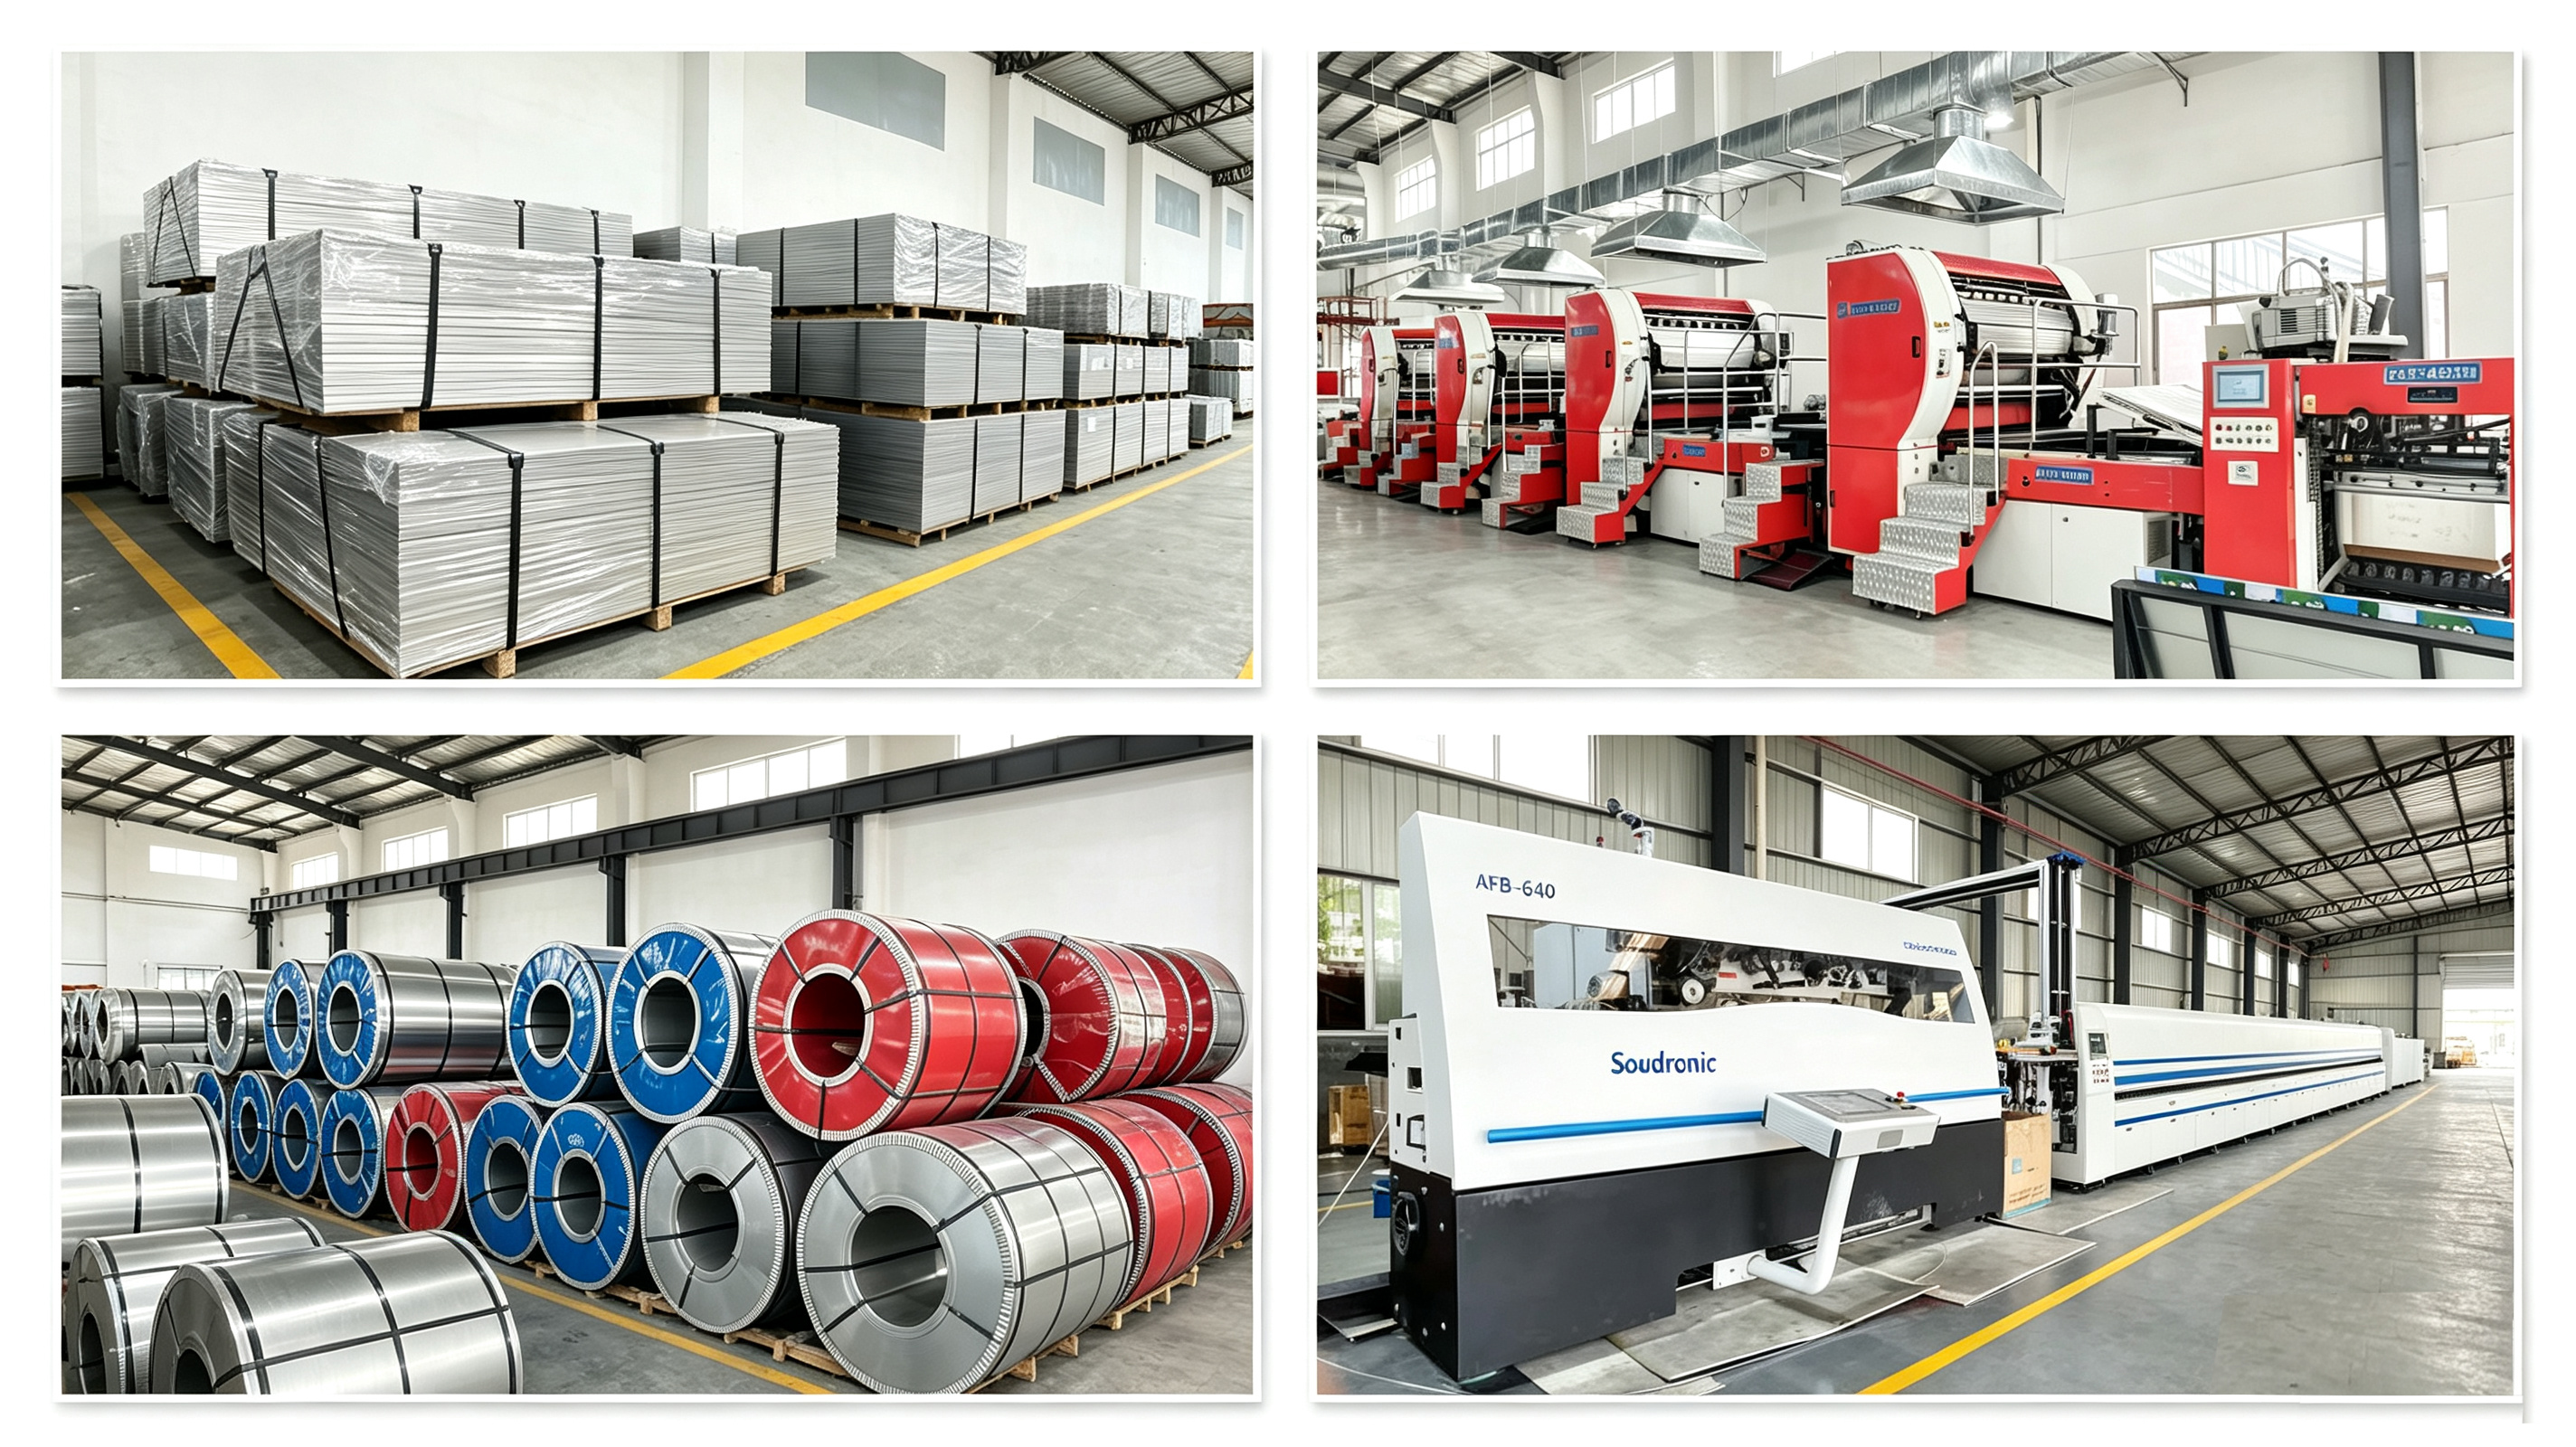
1. Raw Material Preparation and Coating
Incoming Material: The process starts with coils of ETP-low-carbon steel coated with a thin layer of tin for corrosion resistance.
Cutting: Raw material in coils are cut into flat sheets or individual rectangular blanks specific to the can's diameter and height.
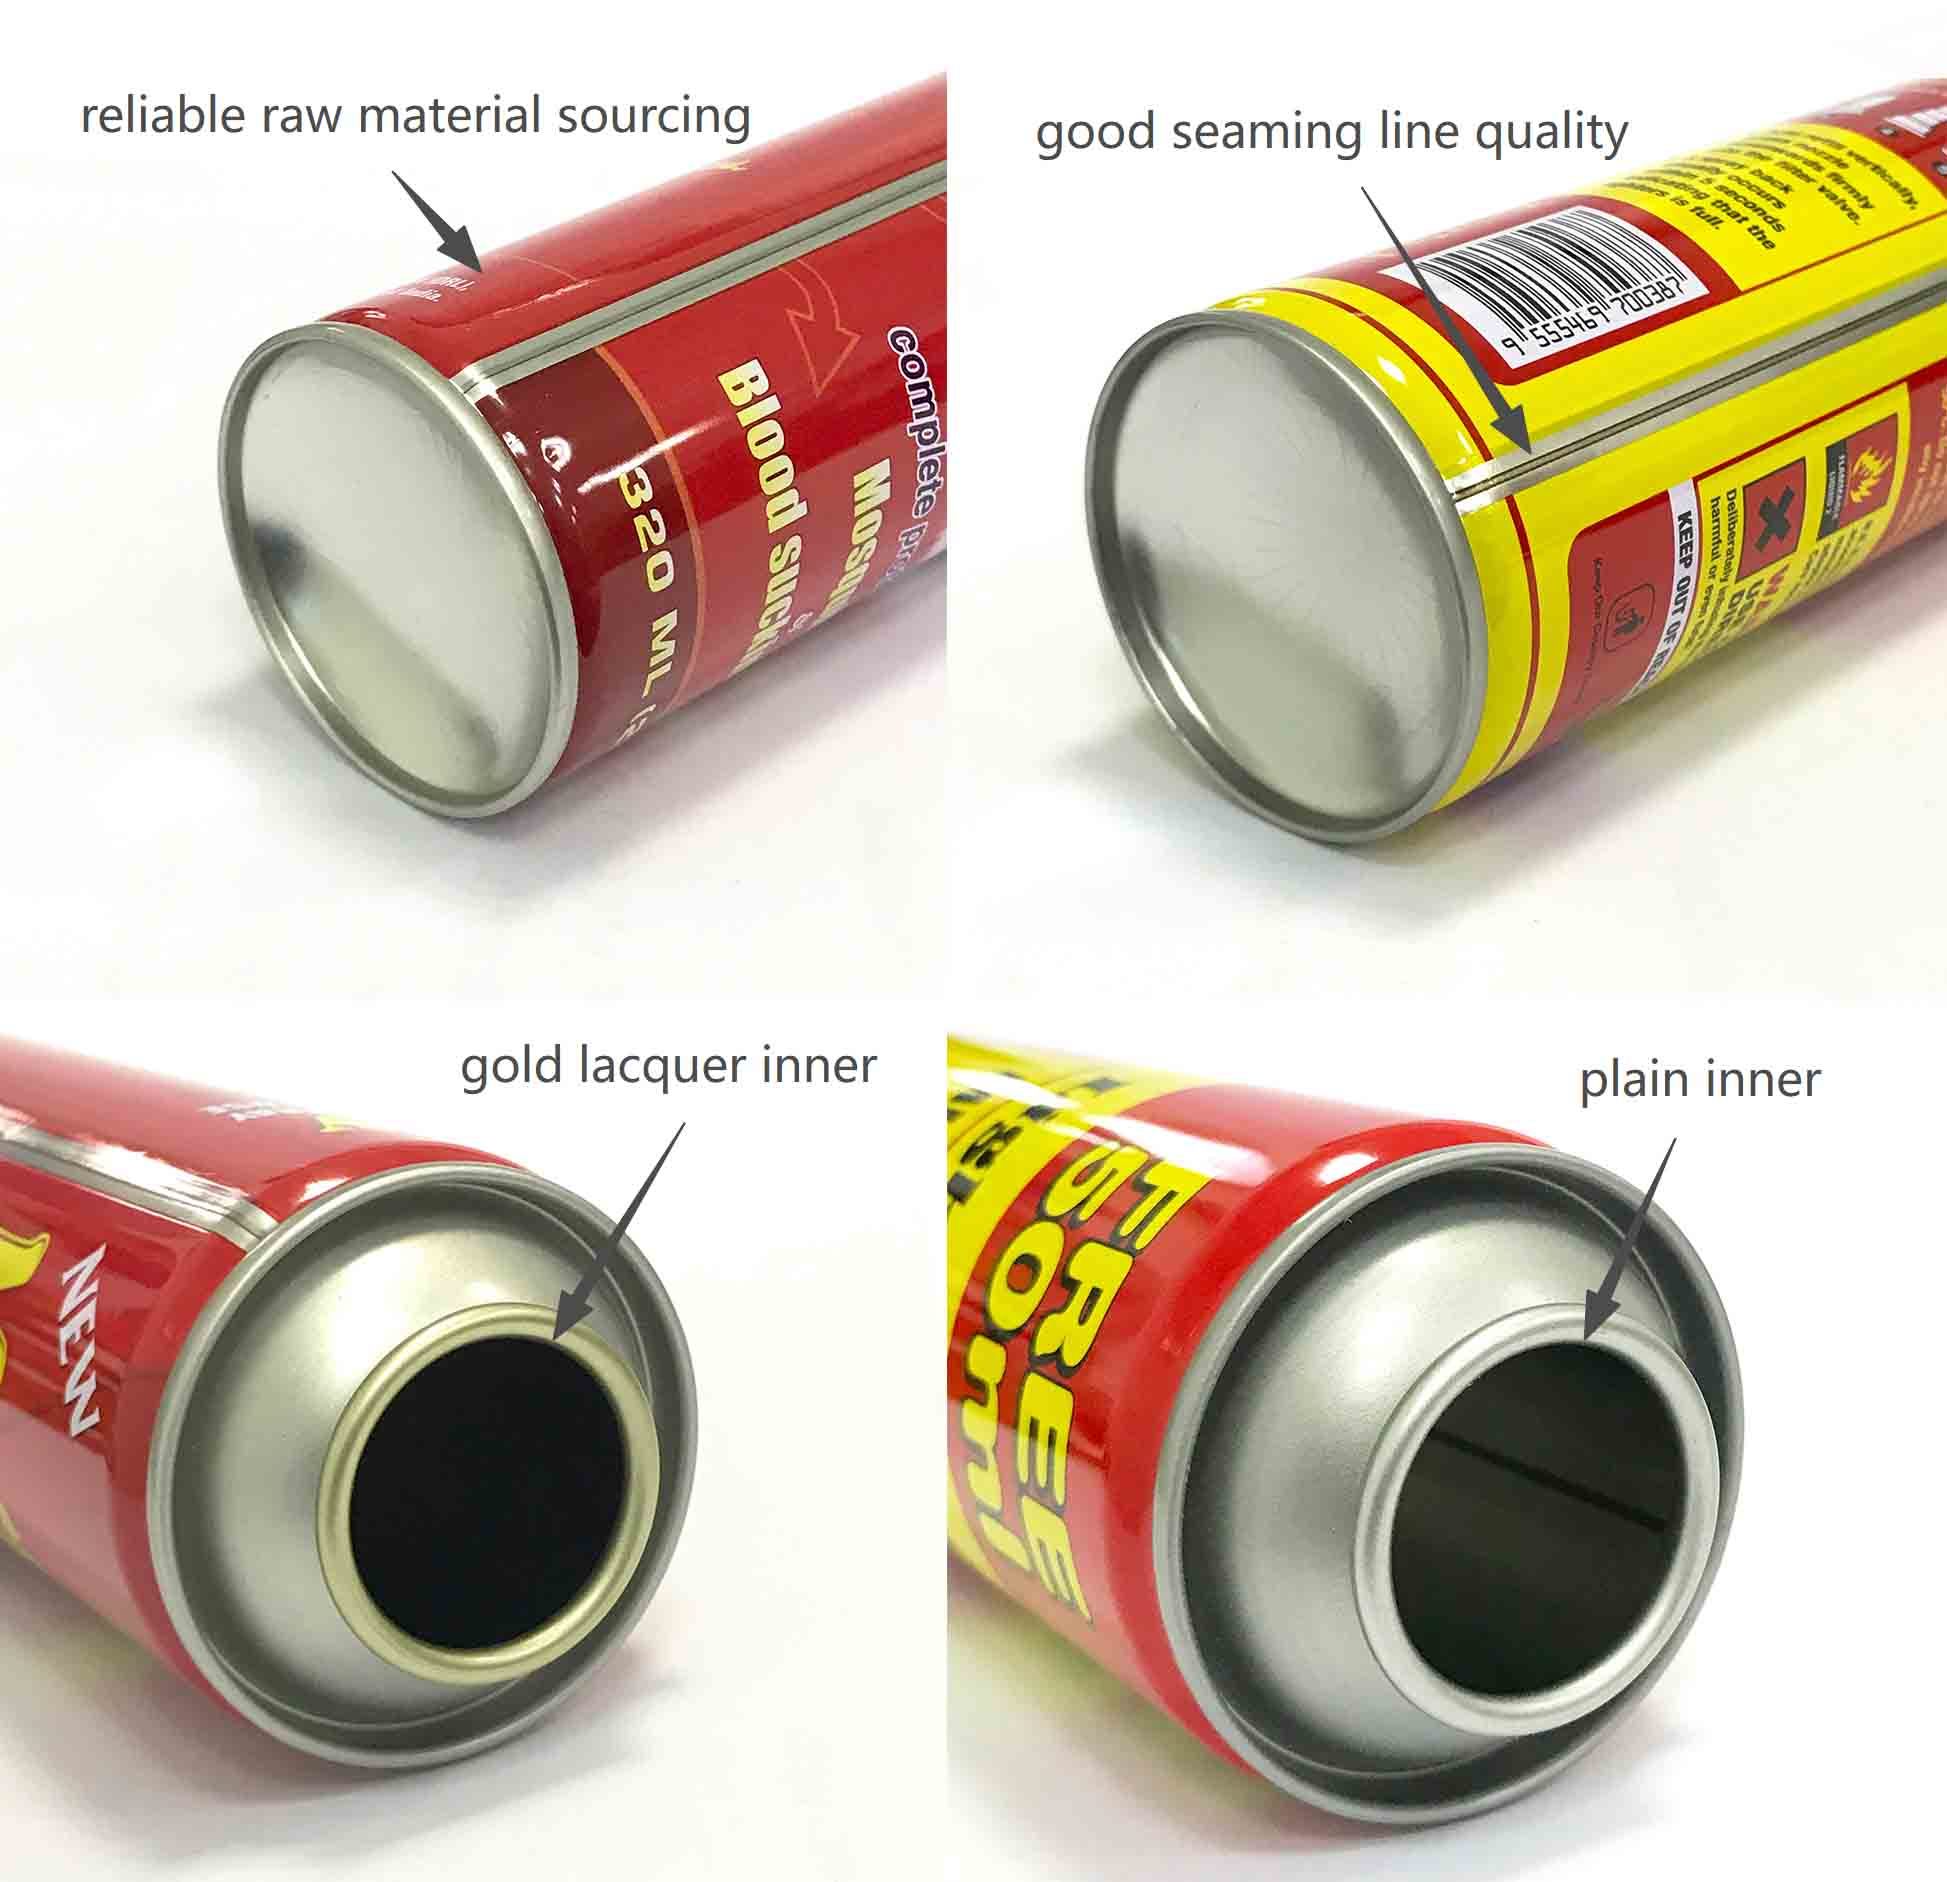
Printing and Coating: before assembly, the flat sheets are decorated using offset lithography and coated with protective protective varnish on the outside. The inside is coated with a protective lacquer (e.g., epoxy-phenolic) to resist corrosion from the product
2. Body Formation and Welding
Rolling: The retangular tinplate blank is rolled into a cylider, leaving a precise overlap of about 0.3 to 0.5mm at the edges.
Welding: The overlapped edges are fused together using high-frequency electrical resistance welding. And electrical current passes through the metal between copper electrondes, generating heat that welds the seam without filler material. This creates a strong, pressure-tight seal.
Side-Seam Coating: The intense heat of welding vaporizes the internal lacquer along the seam. To resore corrosion protection, a protective powder or liquid coating (stripe) is automatically applied over the weld seam on both the inside and outside.
Curing: The coated cans pass through a curing oven (typically 250℃ to 280℃) to harden the protective stripe material into an inert barrier.
3. Top and Bottom Manufacturing
The top and bottom components are manufactured simultaneously on seperate high-speend presser:
Stamping: Tinplate sheets are fed into a punch press. Circular blanks are punched out and then drawn into their final shape (the top and bottom) through a series of dies.
Curling: The cut sdges of the ends are curled to create a "hook" that will form the double seam. For the top dome, the one-inch opening is also curled to hold the valve cup.
Compound Application: A sealing compound is applied to the curl of the neds to ensure a hermetic seal.
4. Final Aeesmbly and Testing
Flanging: The top and bottom edges of the cylindrical body are flared outward to form the "body hook" for the double seam.
Necking: For many aerosol cans, the diameter at the top and bottom is reduced (necked-in) for cosmetic appeal or to meet specific valve requirements.
Double Seaming: The can body is passed to a double-seaming machine wherethe bottom end is seamed on first. The can is then inverted, and the top is seamed on. This two=step process interlocks the body hook and the end curl to form a pressure-tight seal.
Pressure Testing: Every finished can is fed through an in-line air tester. The can is sealed, and internal air pressure (typically 90-120 psig) is applied. If the can leaks or deforms, it is automatically rejected.
5. Packing
All finished cans will be packed by fully automatic packing machine in pallets which is strong enough and suitbale for exporting